■ Overview
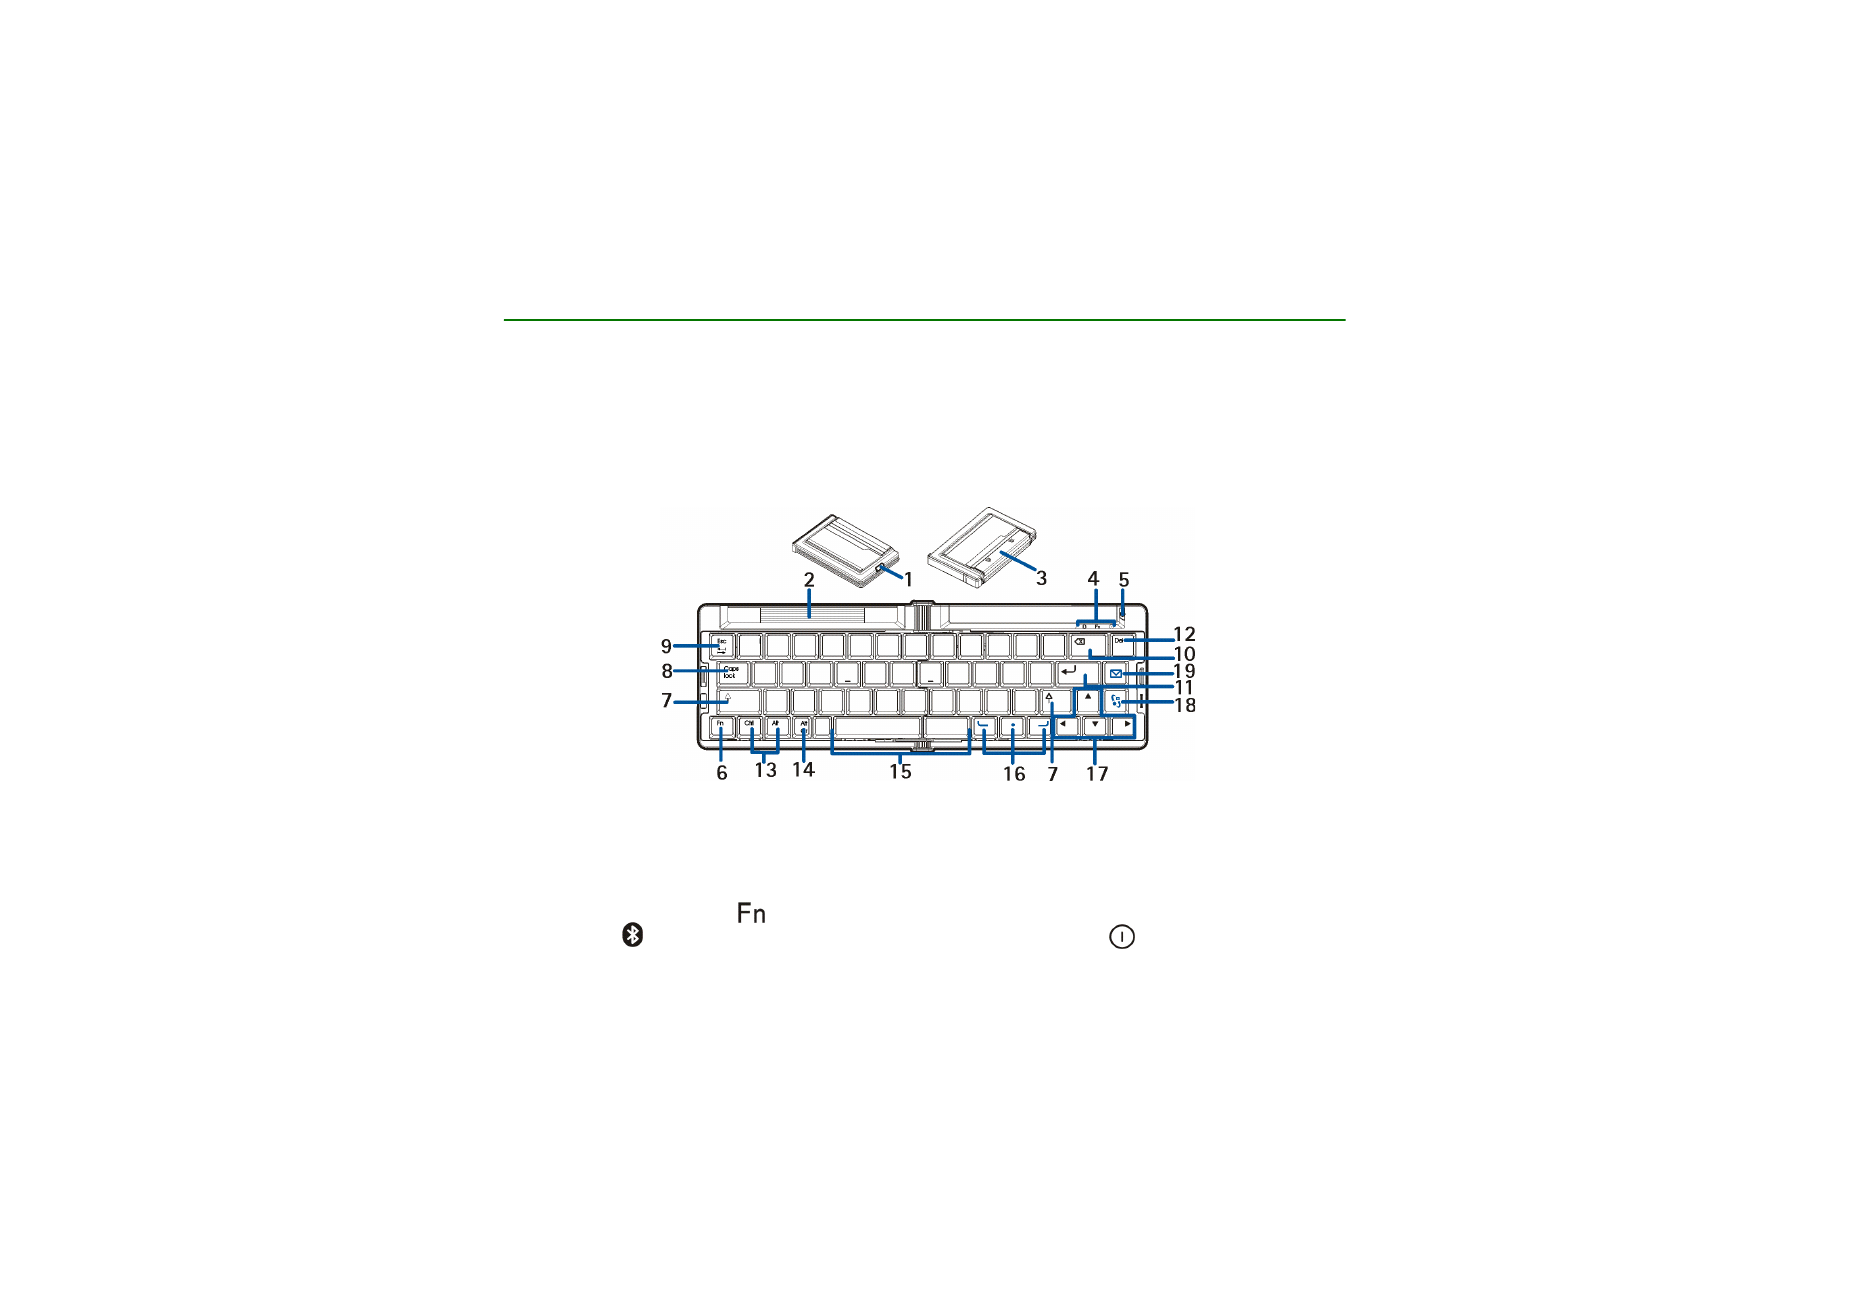
The keyboard contains the following parts, as shown in Figure 1:
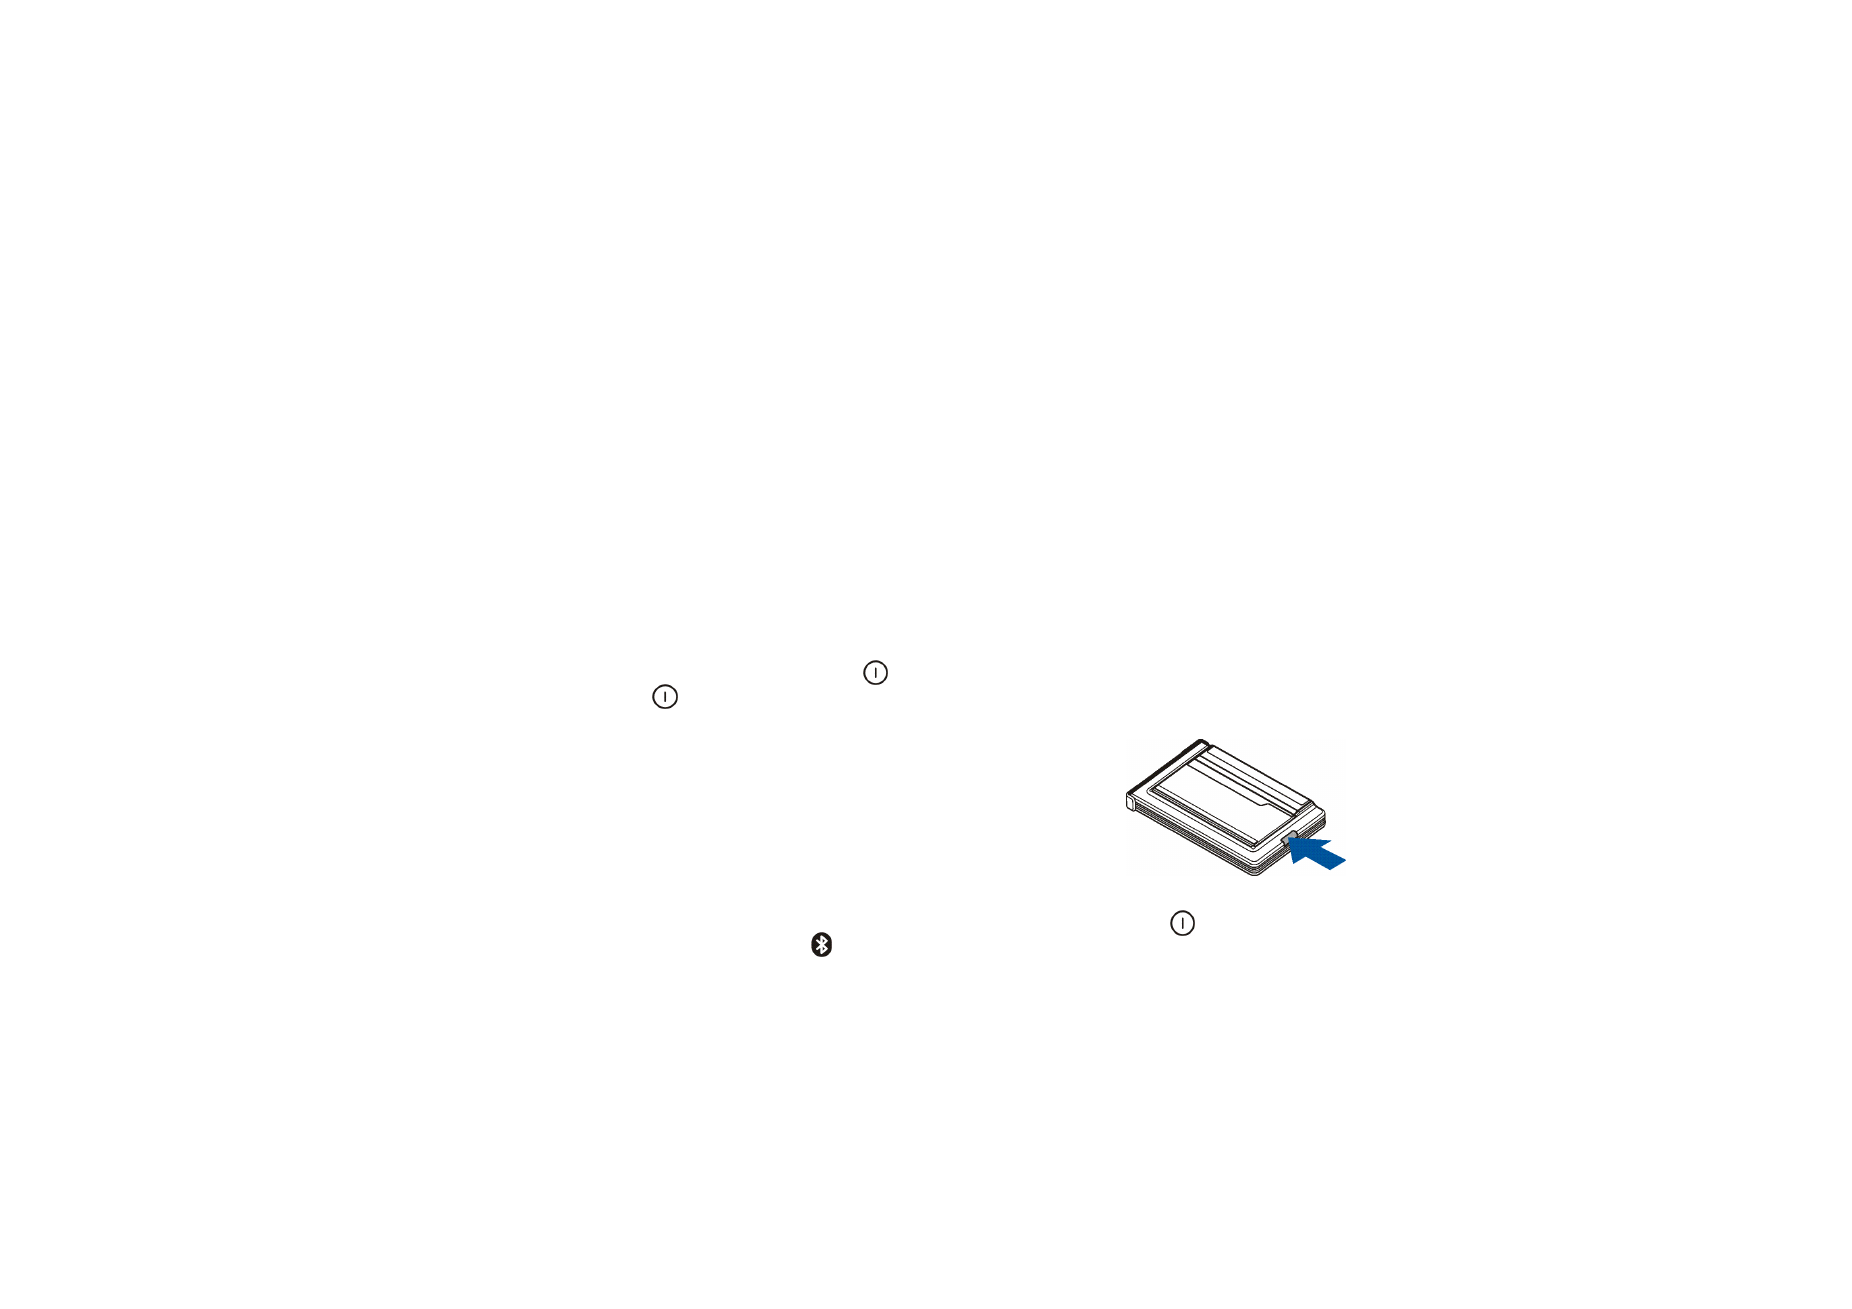
Release button (1) opens the keyboard.
Retractable cradle (2)
Cover of the battery compartment (3)
Indicator lights (4). The green
indicator is on when you can type characters that are printed on the keys in
green. The blue
indicator shows the status of the Bluetooth connection. The
indicator is blinking red
when the power level of the battery is low and green when the keyboard is switched on.

7
© 2004-2006 Nokia. All rights reserved.
Power key (5) switches the keyboard on or off.
Fn key (6). See
Typing text
on page
13
.
Shift keys (7). See
Typing text
on page
13
.
Caps lock key (8) toggles between the lower and upper character case.
Tab/Esc key (9). See the instructions for your text editing application.
Backspace key (10) deletes a character on the left of the cursor.
Enter key (11) adds a new line (when writing text) or selects a function in some menus.
Del key (12) deletes a character on the right of the cursor.
Ctrl and Alt key (13). See the instructions for your text editing application. To open the profile menu of your
compatible phone, press the Del key while you press and hold the Ctrl and Alt key.
Alt Gr key (14) opens a list of special characters.
Space bar (15) inserts a space.
Selection keys (16) have the same functions as the selection keys on your compatible phone.
Arrow keys (17) have the same functions as the scroll keys on your compatible phone.
Menu key
(18) opens the main menu of your compatible phone.
Messaging key
(19) opens the messaging application on your compatible phone.
Before you can start using the keyboard, you need to:
• Install the batteries. See page
8
.
• Download and install the Wireless Keyboard application from www.nokia.com/support or your local Nokia
web site if the application is not already installed in your phone. See page
9
. The application may also be
supplied with the phone but not installed in it.
• Pair the keyboard with your compatible phone. See page
9
.

8
© 2004-2006 Nokia. All rights reserved.
• Place your phone in the cradle, if you wish. See page
12
.